DIY Frilly Frames
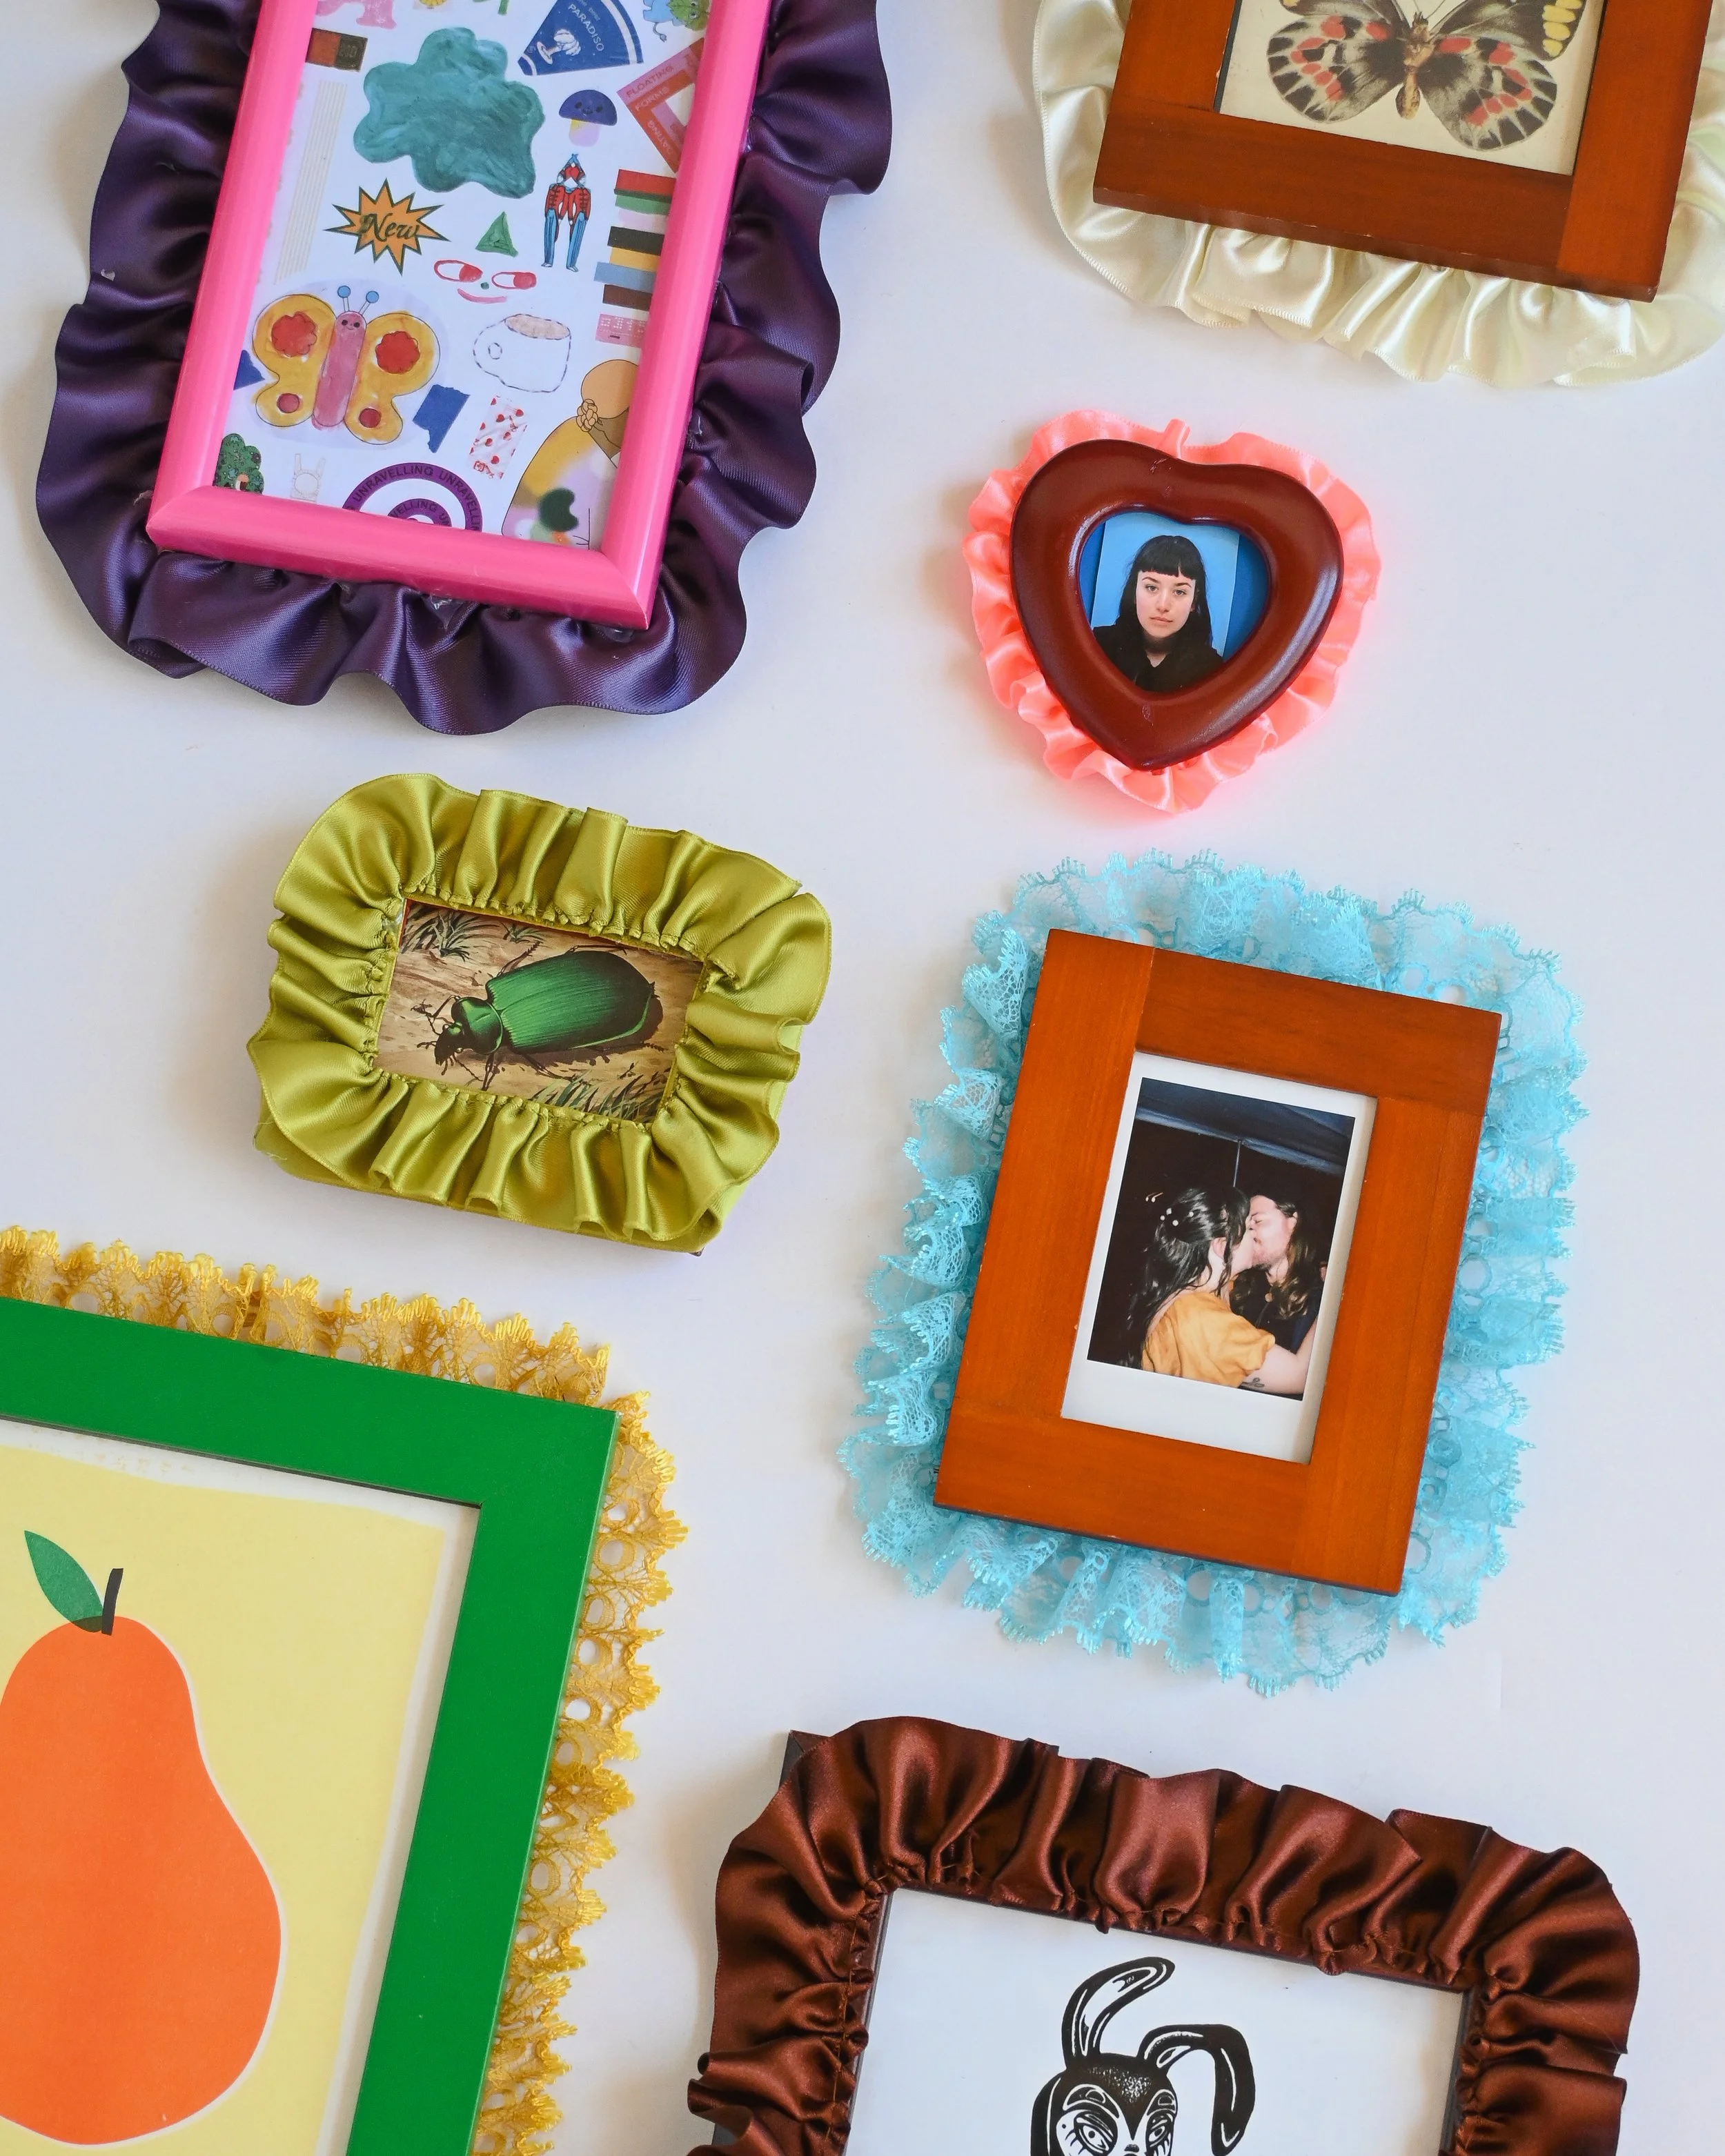
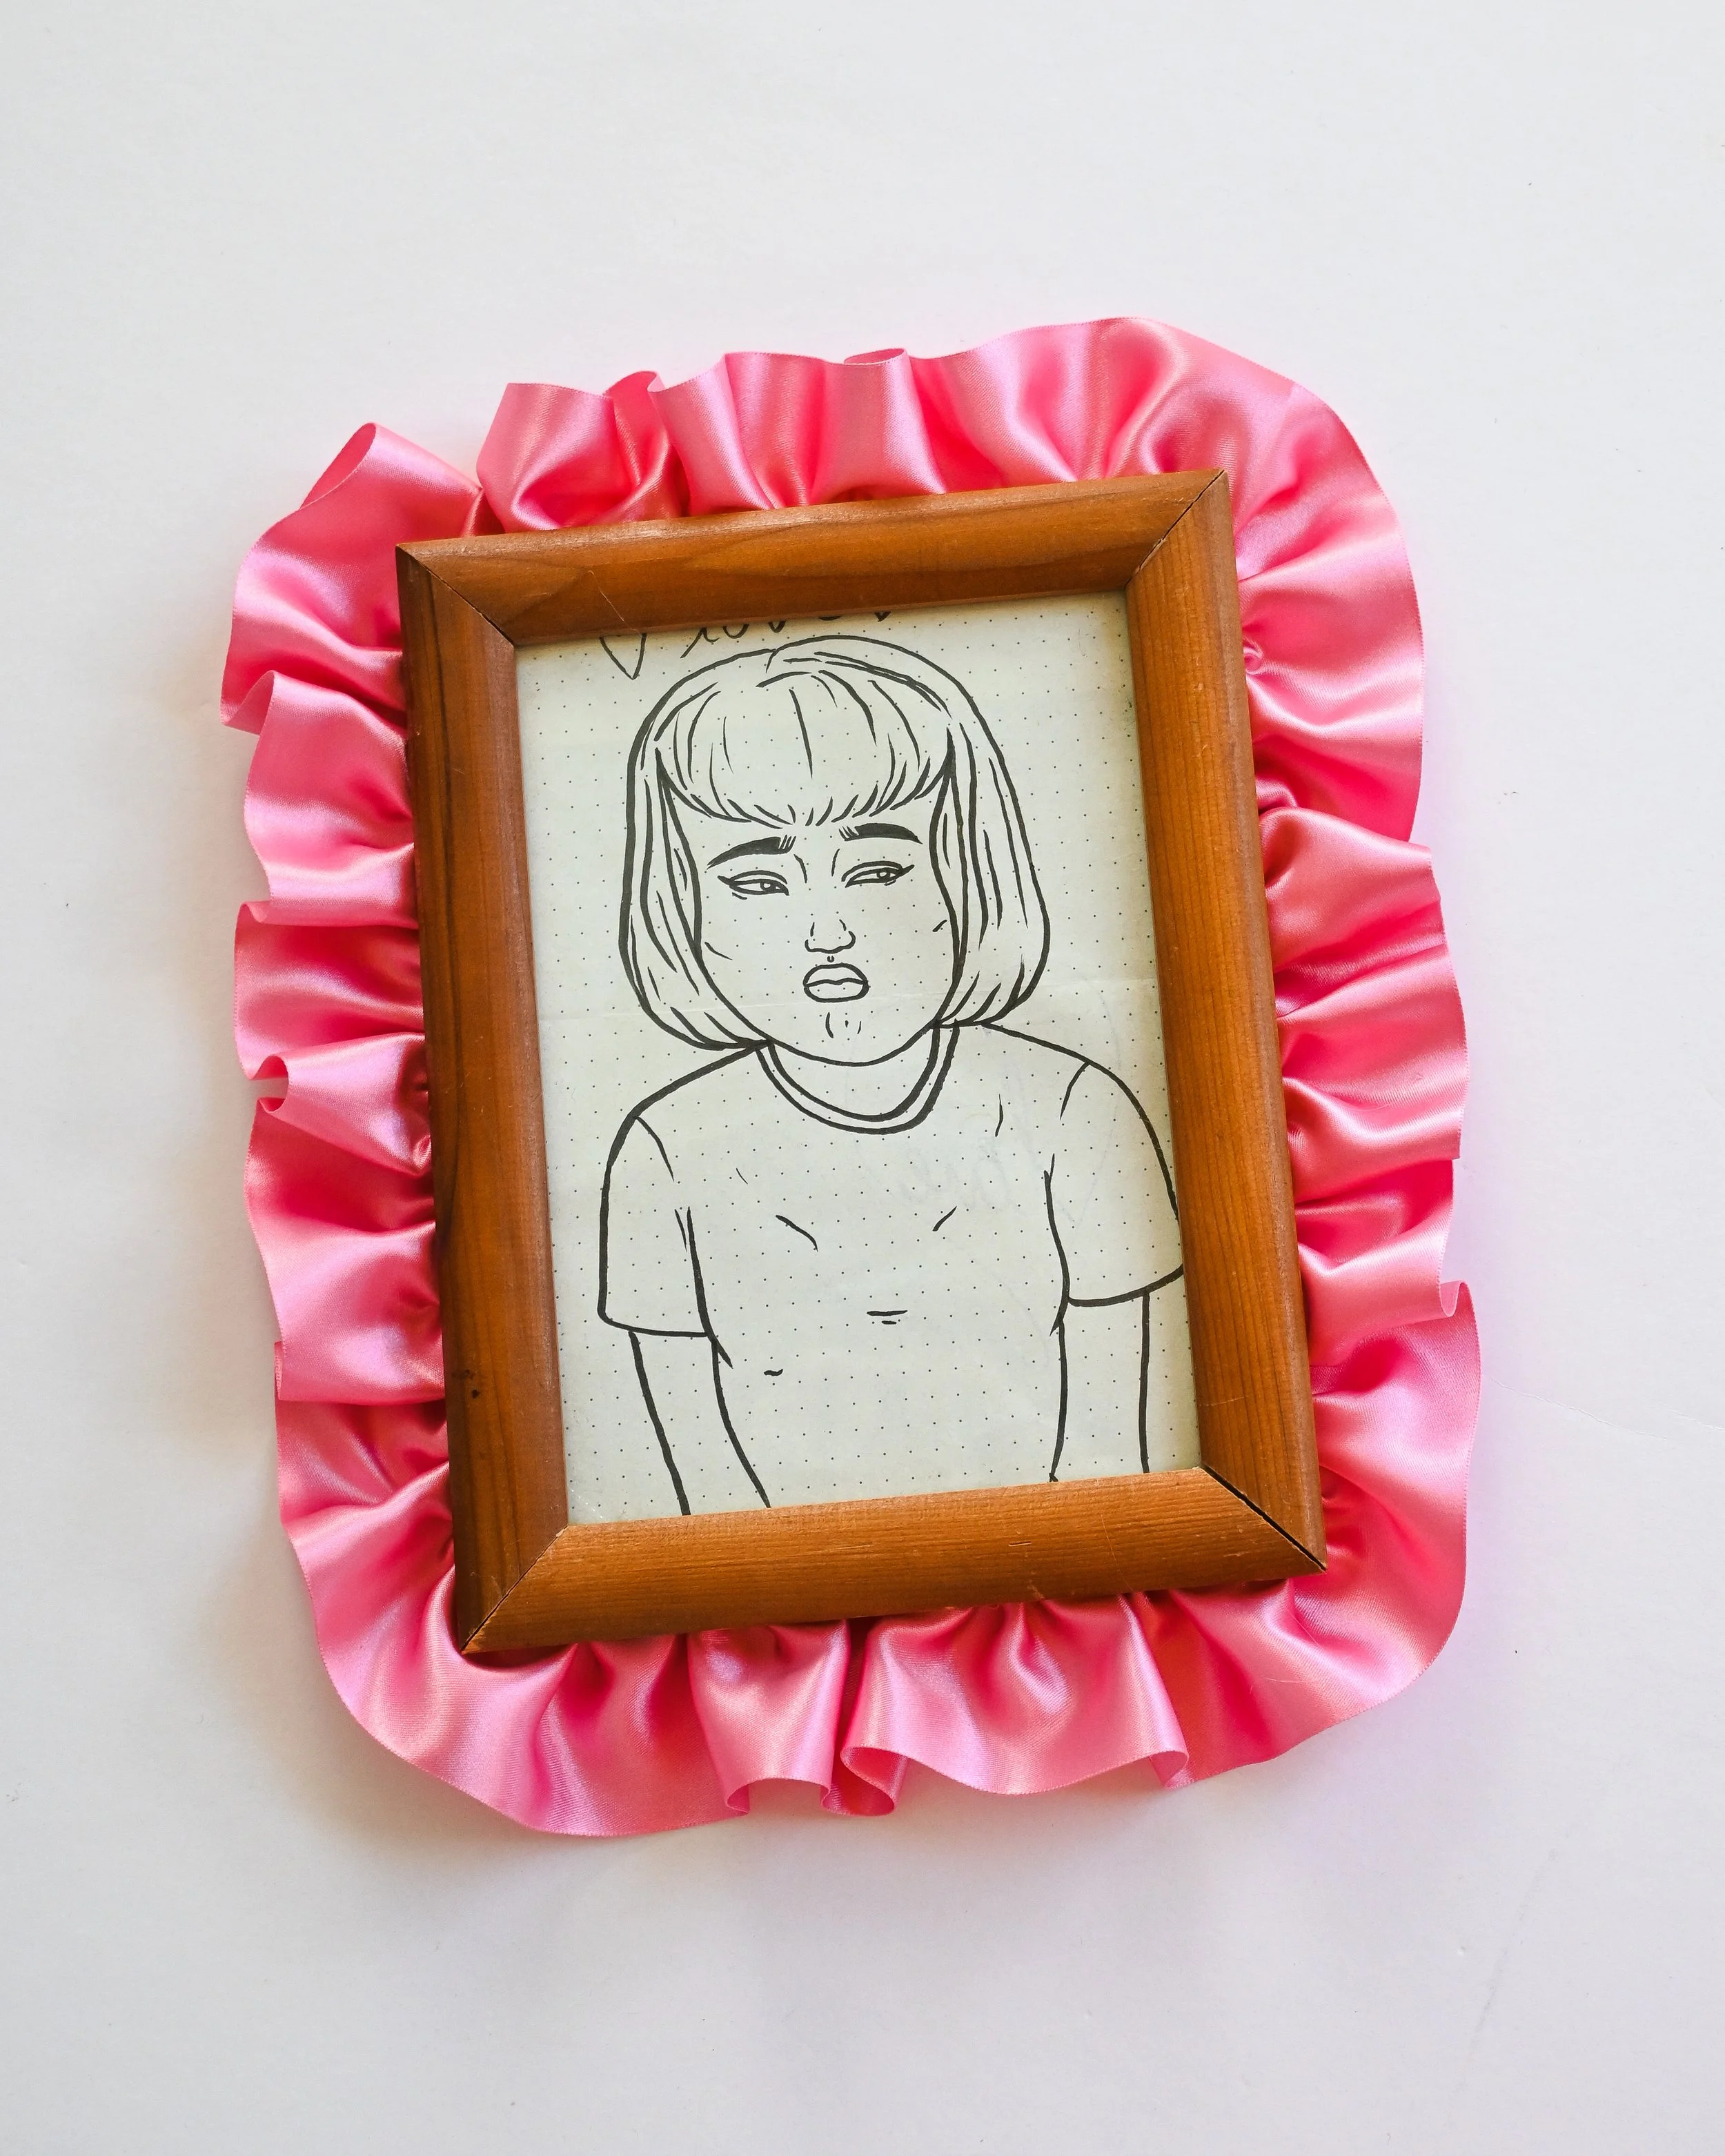
I've been collecting unique frames to add to my gallery wall, and this month's prompt gave me the perfect excuse to transform them into something special. With a couple of metres of ribbon and lace and some carefully placed hot glue, I present to you, Frilly Frames!
You will need:
Second-hand frames in a variety of colours and sizes.
Satin ribbon or woven lace (non-stretchy)
Thread that matches your ribbon or lace
Sewing machine
Hot glue gun and glue
Command strips
How to make a frilly frame:
Cut a piece of ribbon or lace that measures 2-3x the circumference of the frame. The longer the ribbon, the more gathered the frills will be.
Sew a basting stitch along one edge of the ribbon about 2-5mm from the edge. Make sure to backstitch at the start of the stitch and leave a little thread tail at the end so you can adjust the gathers to make them even. Lay the gathered ribbon around the frame to see if it's long enough, and carefully spread and adjust the gathers until they are even.
Apply a 1cm dot of hot glue to the back of the frame and attach the end of the gathered ribbon with the backstitch. Continue applying hot glue and working your way around the frame slowly until you reach the start again. Fold the ribbon to the back and glue it over the other end to hide the raw edges. You can use a lighter to burn the edges to stop them from fraying.
Put a picture into the frame and close up the back. Your frame may be a little bulkier (frillier) than before, so I recommend using Command strips to hang them on the wall.
Want your frill on the front? Sew your basting stitch (gathering stitch) as close to the edge of your ribbon as possible, about 1-2mm. You will need to apply your hot glue even more carefully with this one and work in small sections to ensure the hot glue doesn’t show. Good luck!
I can’t wait to see your versions of this DIY project. Be sure to tag me and use #DIYFrillyFrames so I can see them!
If you found this tutorial helpful, feel free to leave a donation or buy me a coffee on Ko-fi.
Every bit of support means so much and helps keep this blog going. Thank you!


