DIY Continuous Bias Binding
*This is a paid post in collaboration with Cricut.

Bias binding is one of those things in sewing that I’m sure nobody really enjoys making, but it always comes in handy to finish seams, necklines and so much more! So, when Cricut sent me their Maker, I knew I wanted to put it to the test and see if it would make the process easier. I had been holding on to a bunch of my colourful linen scraps and thought this would be the perfect opportunity to bust them and make some continuous scrappy bias binding.
The first thing I did was set up my Design Space account and start learning how to create my own project. It took a little bit of fiddling, but after watching some Youtube tutorials, I was able to make a project consisting of cuts made 4cm apart on a 45-degree angle. The file creates strips that can be sewn together to make 1cm Double Fold Bias Binding.
The fabric scraps I used were all 100% linen in various colours and the Makers rotary blade cut through it just like it was paper. I did notice after a few rounds my Fabric Grip Mat was starting to lose its stickiness so I made sure to keep an eye on the machine while in progress in case the fabric rolled up. I later learned that I can use a lint roller to clean the mat after each cut. Linen does pill and fray a lot so I think it might have been mostly because of my fabric choice.
The entire process took me about 8 hours, from setting up my machine and getting familiar with the Design Space to sewing the strips together and ironing the folds. Continue reading below to see how I made continuous bias binding with my Cricut Maker.


Step 1
Prepare your fabric by cutting it into squares or rectangles that run on the grain. Make sure your fabric pieces will fit on the Fabric Grip Mat and iron them so that they’re nice and flat.
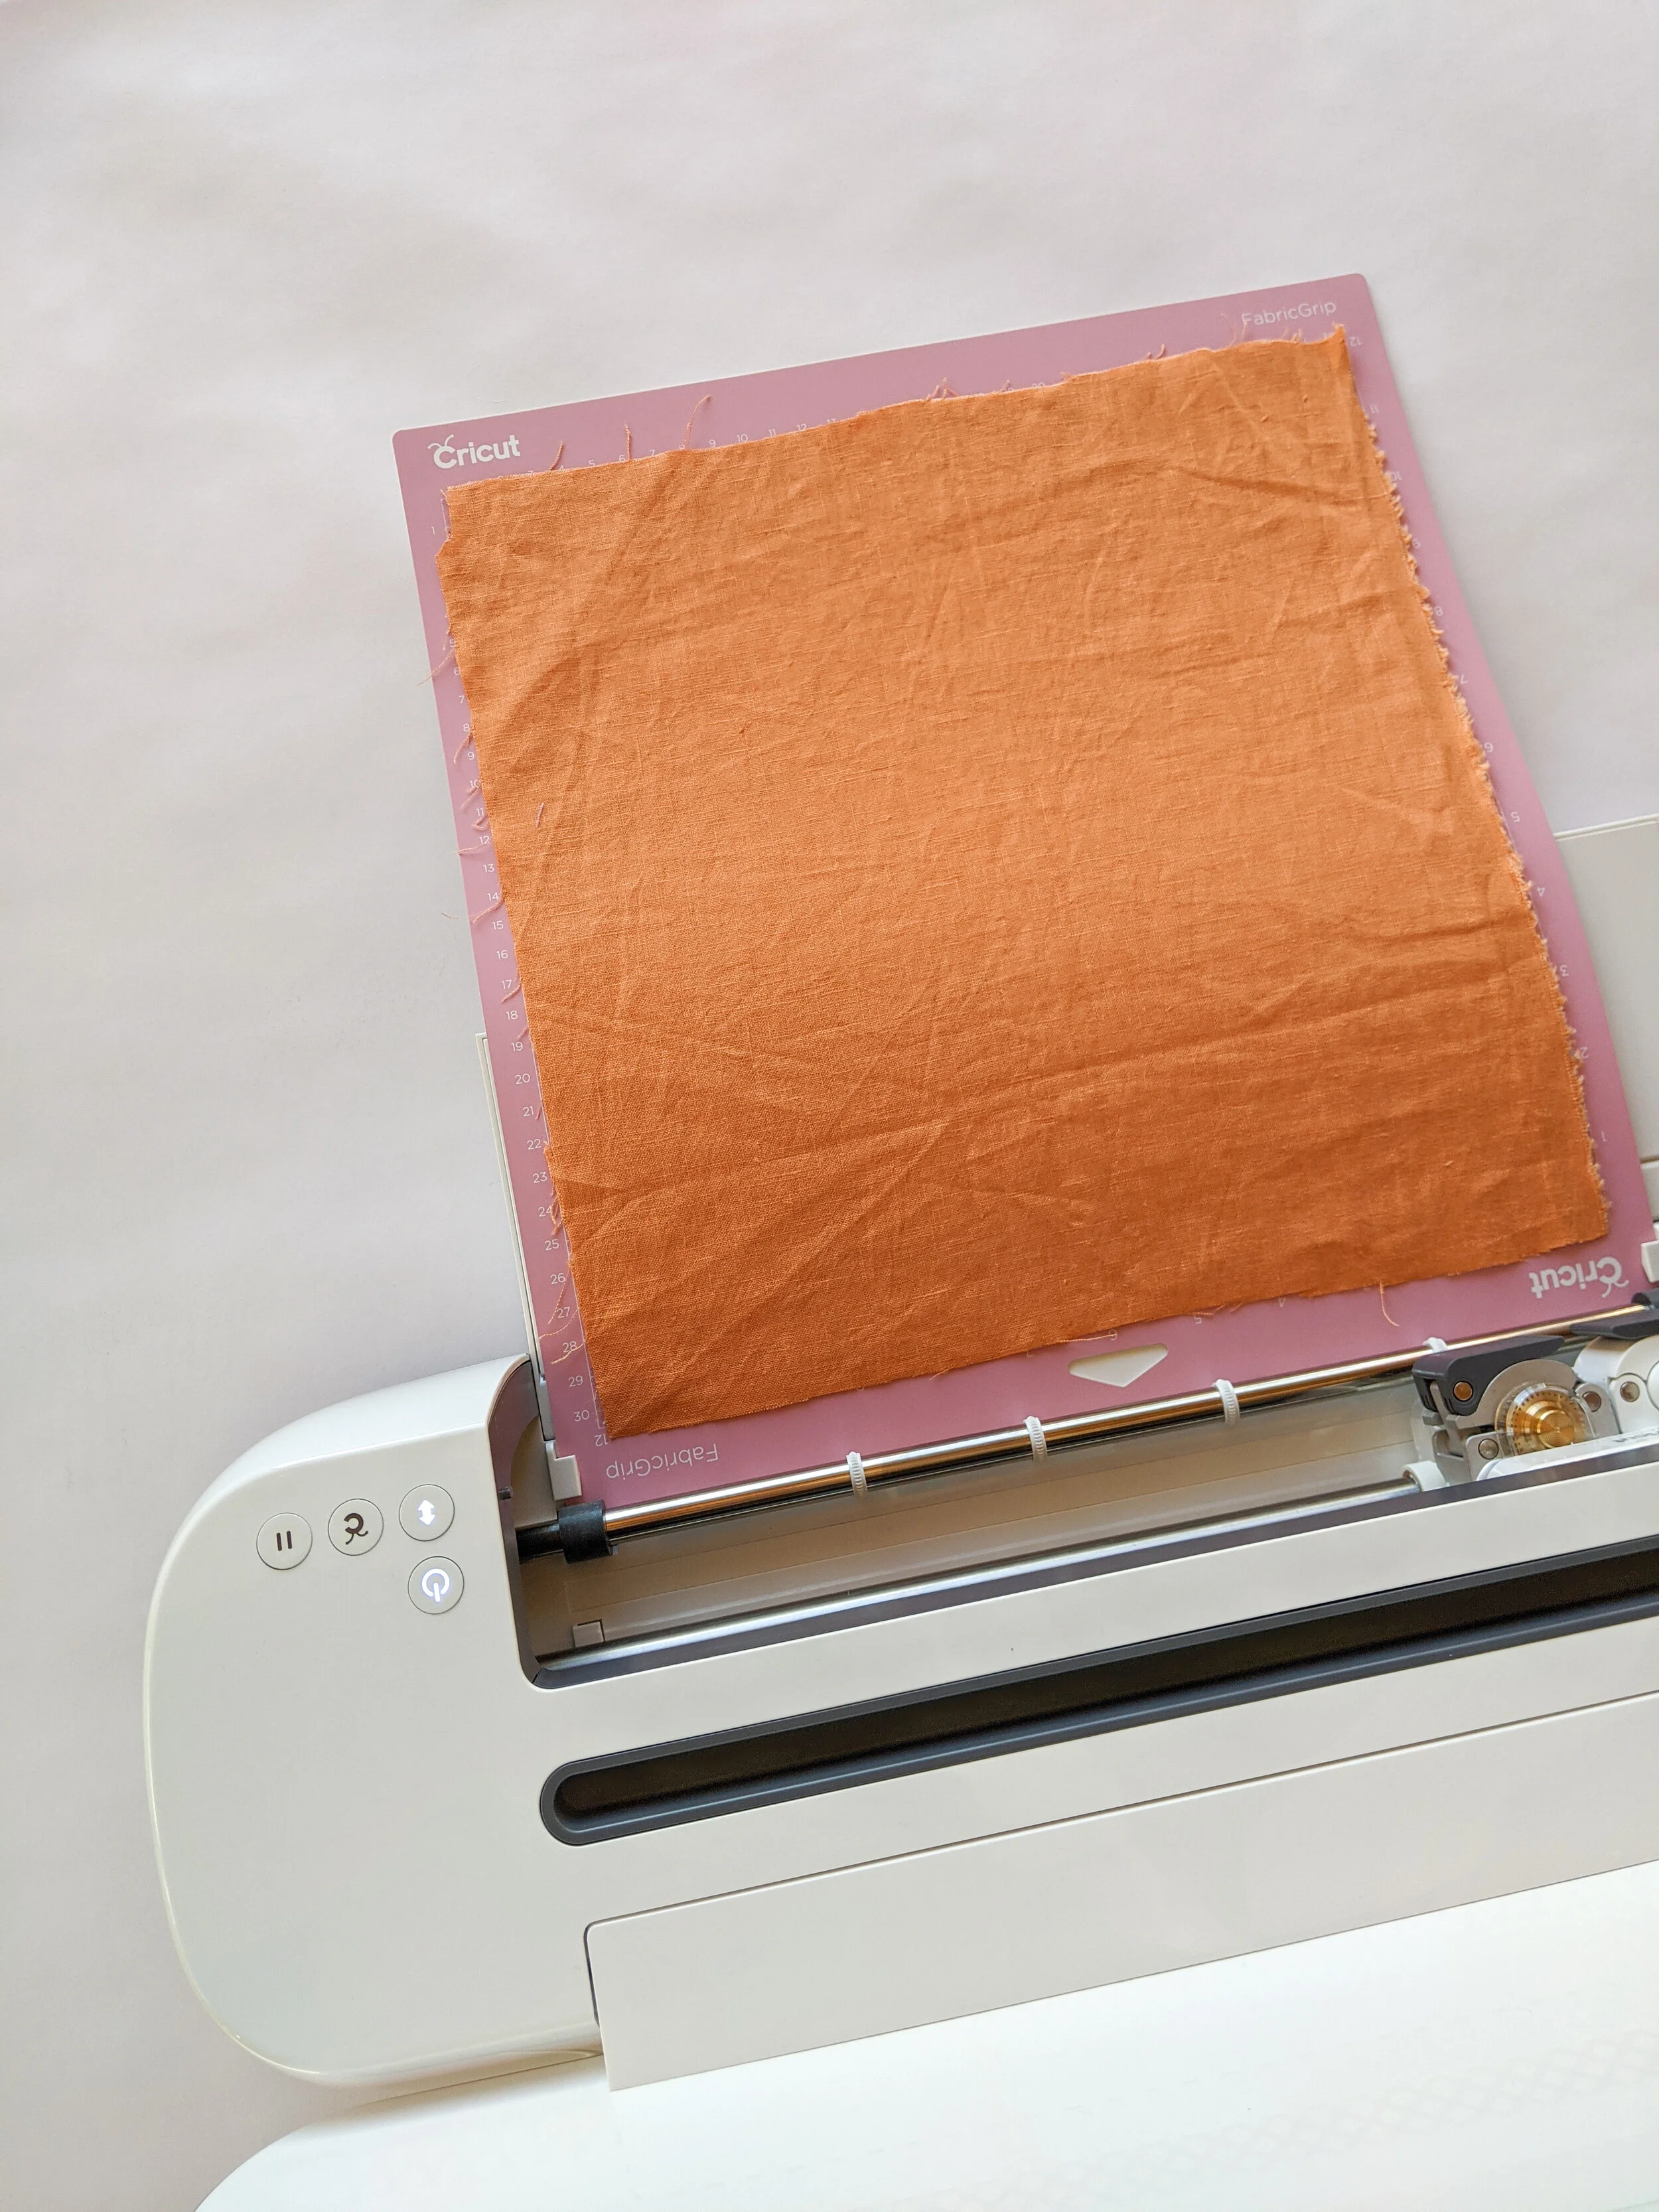
Step 2
Carefully place a piece of fabric on the Fabric Grip Mat and load it into your Cricut Maker. In the Cricut Design Space, select the file 1cm Double Fold Bias Binding and Make It.

Step 3
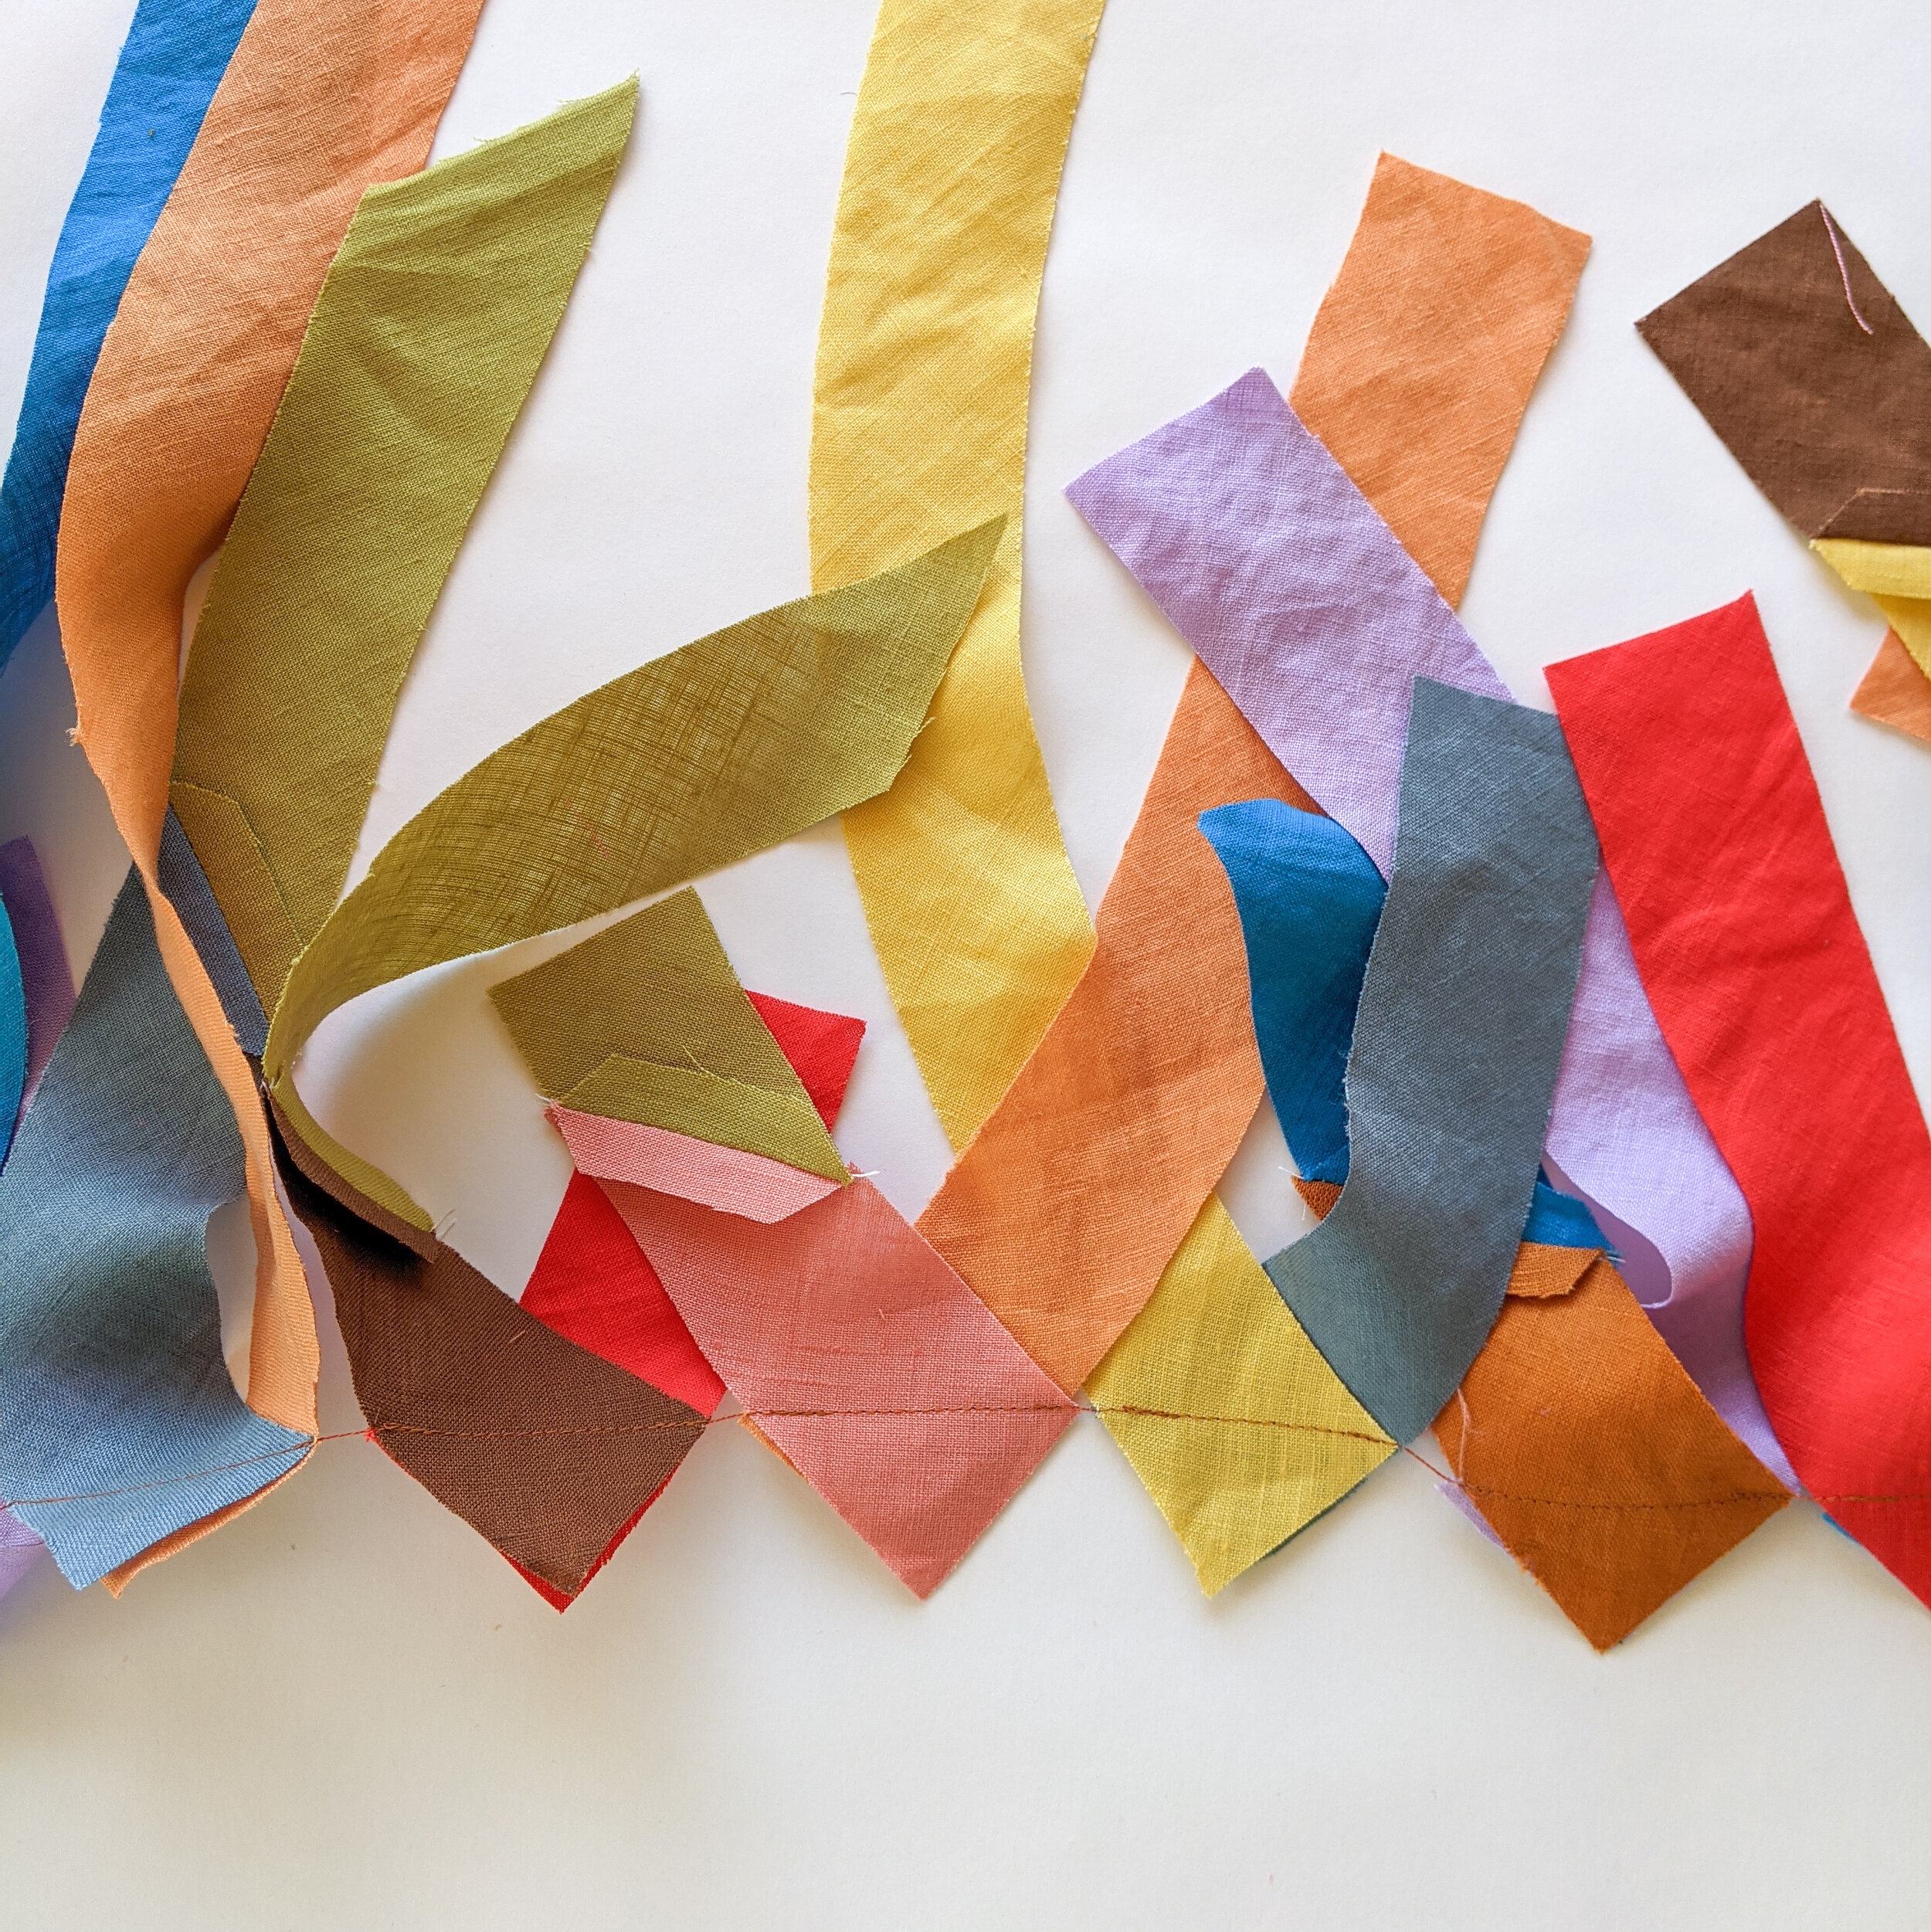
Remove the fabric from the mat and cut apart the strips.

Step 4
Repeat step 3 until you have lots of 4cm wide strips.

Step 5
Cut the ends of the strips to a 90-degree angle.

Step 6
With right sides together, align two strips to make a 90-degree angle and draw a diagonal line (through the imaginary square these strips have created) with chalk or a fabric marker to indicate where to sew.
Step 7
Sew along this line, backstitching at the start and end. Continue to sew strips together until you have one long strip.

Step 8
Trim the seam allowance and press open.

Step 9
Using a bias tape maker, poke the end of the fabric strip through the wide end and use a pin to help push the strip through. Slowly pull the binding through the tool and iron the folds it has created.
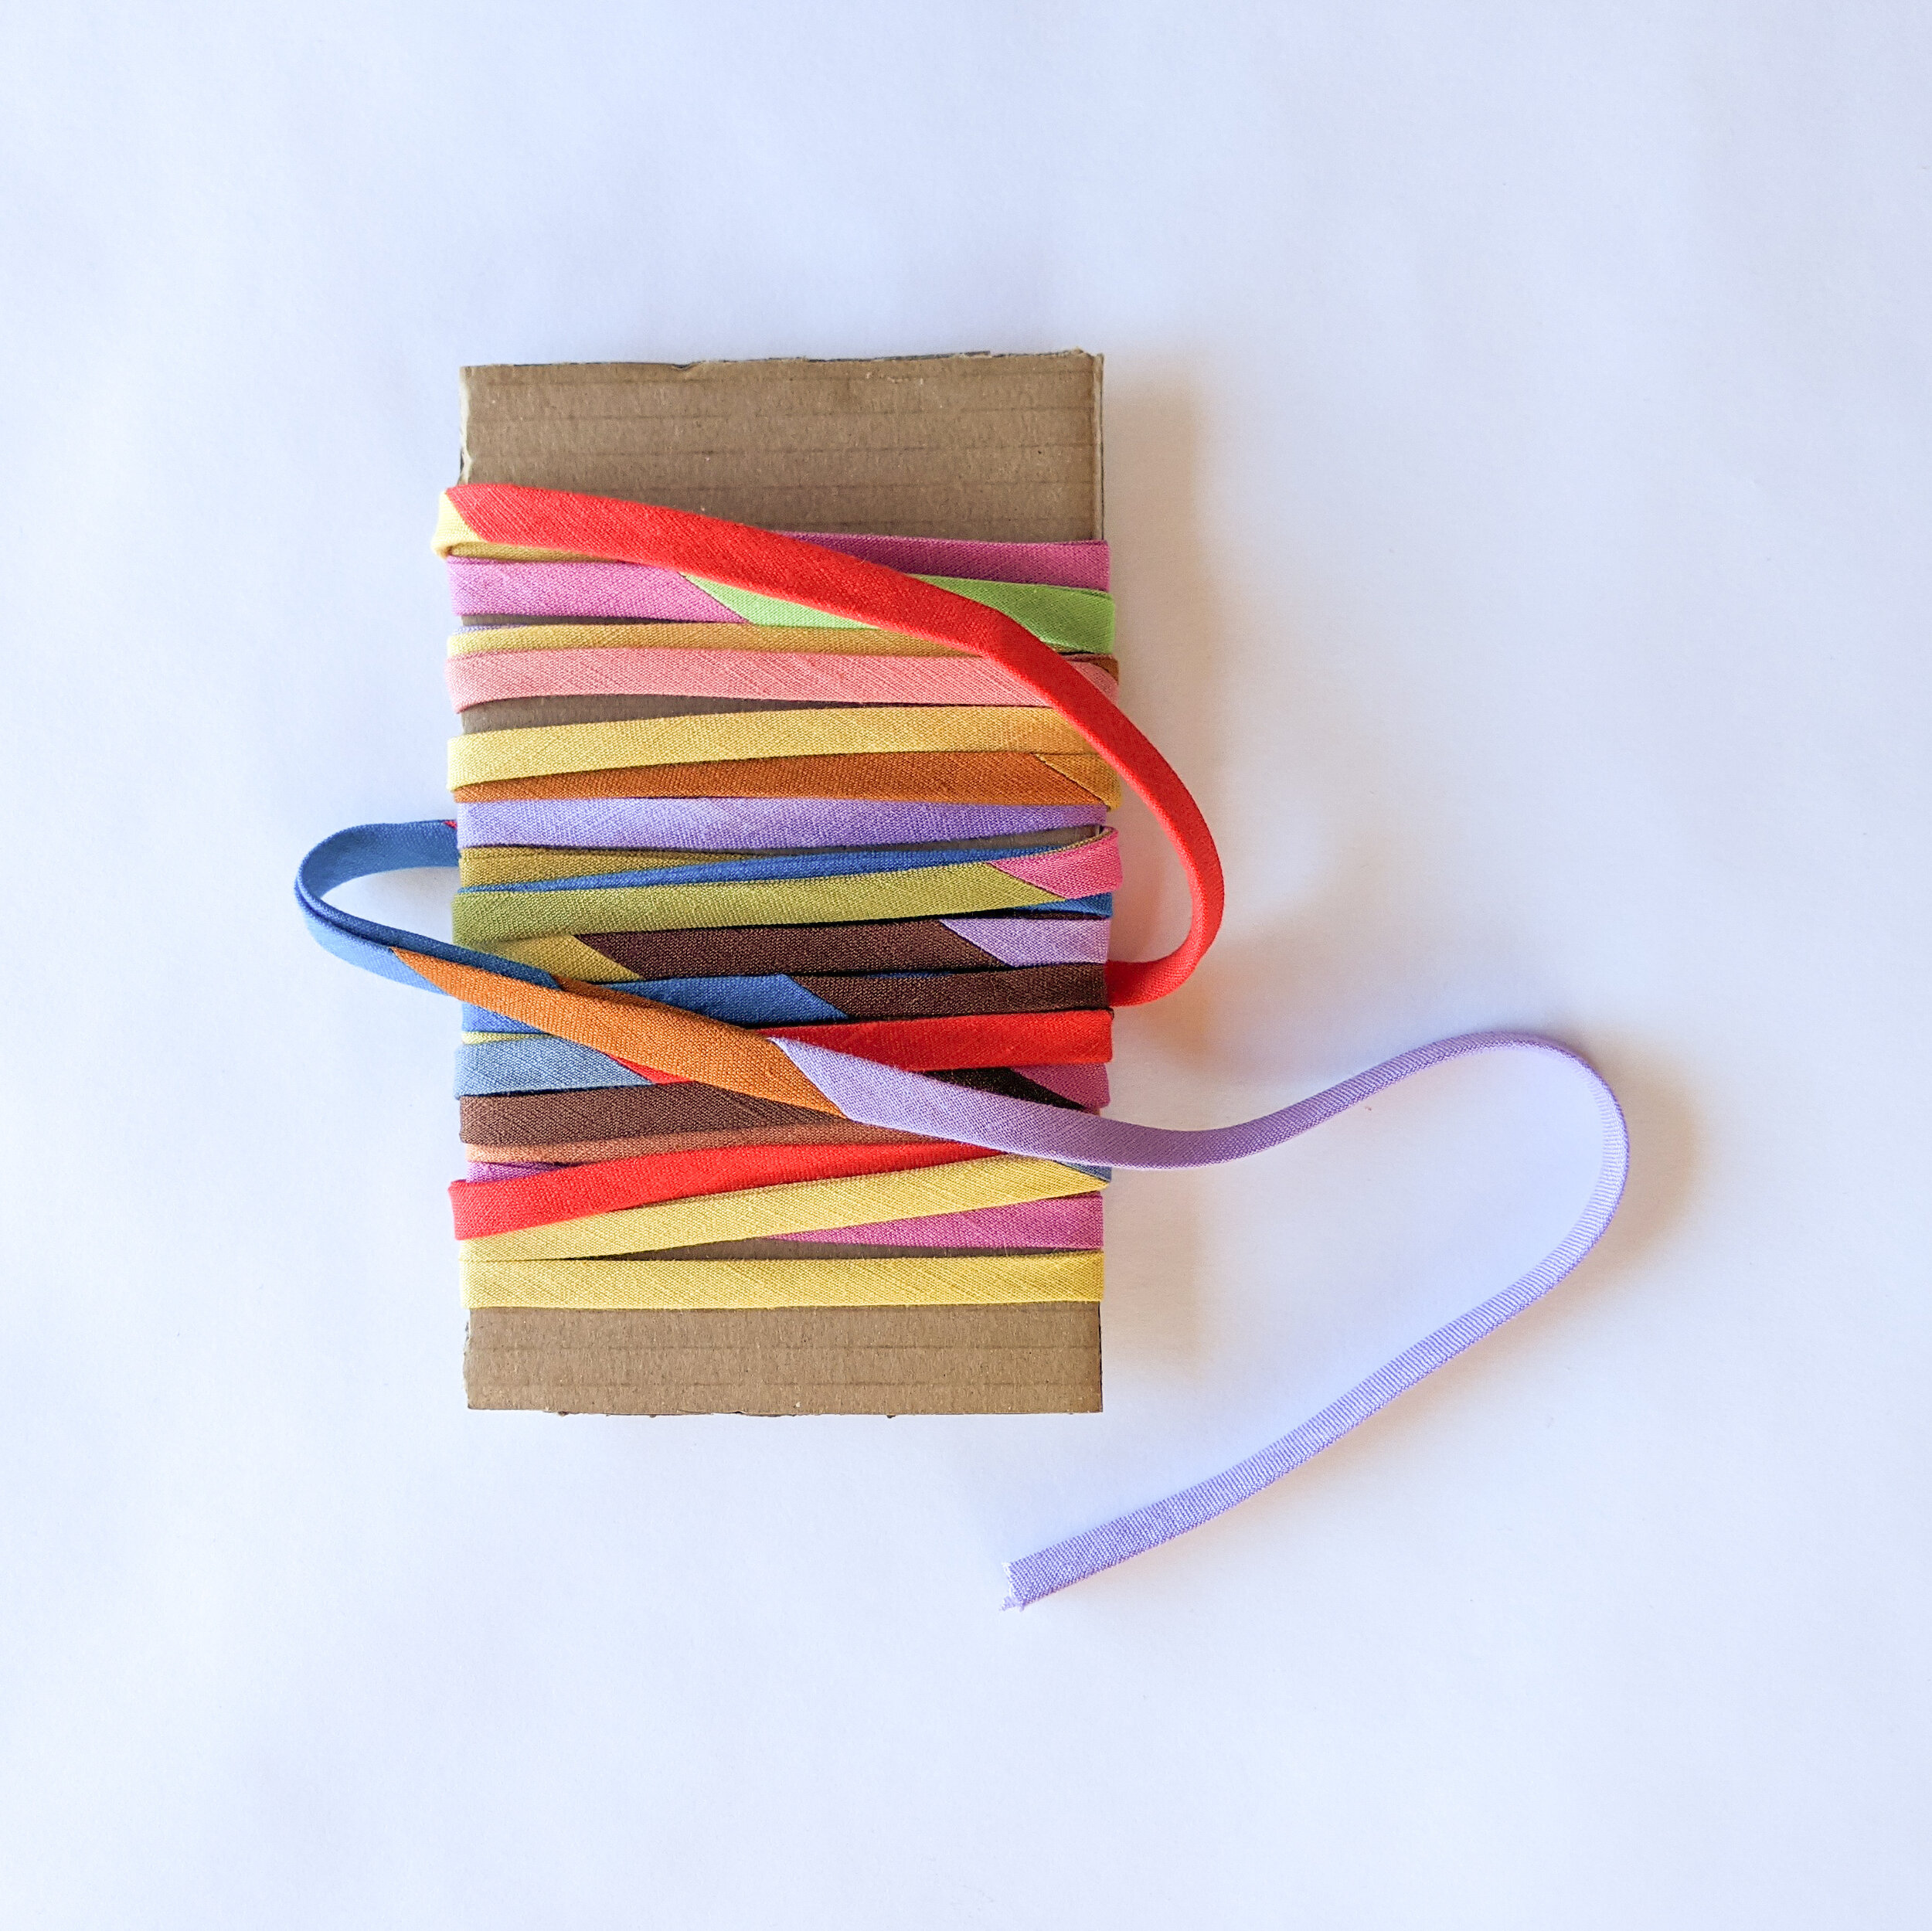
Step 10
Once you have finished pulling the entire strip through the tool, fold the binding in half again and iron so that you have created double folded binding. Wrap It around a spare piece of card to keep it in shape until you need it.
And thats it! I admit, it was still a long process, making bias binding always is but, it really reduced my scrap fabric and the resulting binding is super cute. I ended up using this 4m strip of binding to make some scrappy bunting! Check it out below.

Thank you, Cricut for sending me with this fabulous Maker. I’m excited to try creating some more projects with it!
This is a paid post in collaboration with Cricut. Machine and tools were provided as PR products in order to create this project. The Cricut Maker is available at Spotlight, Harvey Norman, JB HIFI and Big W.